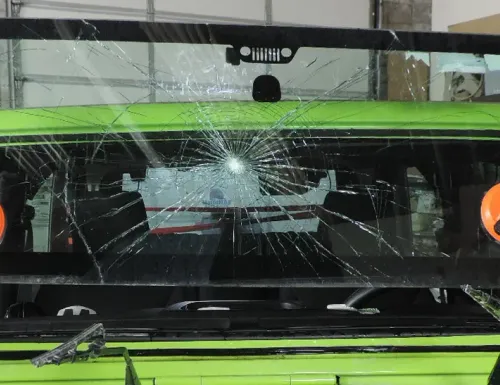
Your windshield needs to be replaced. The crack is past six inches, or it has spread to the edge, or the damage is in your line of sight. Now you want to know what the process actually involves — how long each step takes, what the technician is doing and why, and what you need to do before and after.
At Midtown Glass Atlanta, we replace windshields for Atlanta drivers every day at our shop at 510 Glen Iris Dr NE and through mobile service across Metro Atlanta. The process is more technical than most people expect, especially on modern vehicles with cameras and integrated sensors. Here is an honest, detailed walkthrough.
Step 1: Damage assessment and glass selection
Every replacement starts with an inspection. A Midtown Glass Atlanta technician evaluates:
- Crack length and pattern — Long cracks that have branched or extended to the windshield edge are straightforward replacement calls. Cracks under three inches in a non-critical area may still qualify for repair. We always mention that option if it applies.
- ADAS equipment — Does your vehicle have a forward-facing camera? Rain sensor? Heated windshield elements? Heads-up display lens? Each feature affects which glass is required and what additional steps follow.
- Pinch weld condition — The metal channel the glass bonds to. Prior rust or damage here needs to be addressed before new glass goes in. We document this before touching anything.
- Prior repair or replacement history — A windshield previously installed with misaligned glass or excess adhesive creates additional prep work at removal.
Two vehicles with the same make, model, and year can need different windshields based on trim level. We verify the correct glass against your VIN when variation matters. Midtown Glass Atlanta keeps more than 1,000 windshields in inventory at the Glen Iris shop, which is why same-day service is available for most common Atlanta vehicles.
Step 2: Vehicle protection
Before any tools come out, the technician protects your car:
- Seat covers and floor mats on the interior
- Dashboard cover to catch adhesive drips and glass fragments
- Tape and foam padding on the painted body panels around the windshield opening
- Protective covers on exterior components near the work area
This takes about 10 minutes and prevents cosmetic damage that would cost far more to repair than the time spent preventing it. Adhesive on leather or a scratch on the A-pillar paint are both avoidable.
Wiper arms, cowl trim, the rearview mirror assembly, and any exterior molding attached to the glass are removed and set aside in removal order. Cameras, rain sensors, and embedded electronic components are disconnected and stored carefully.
Step 3: Old windshield removal
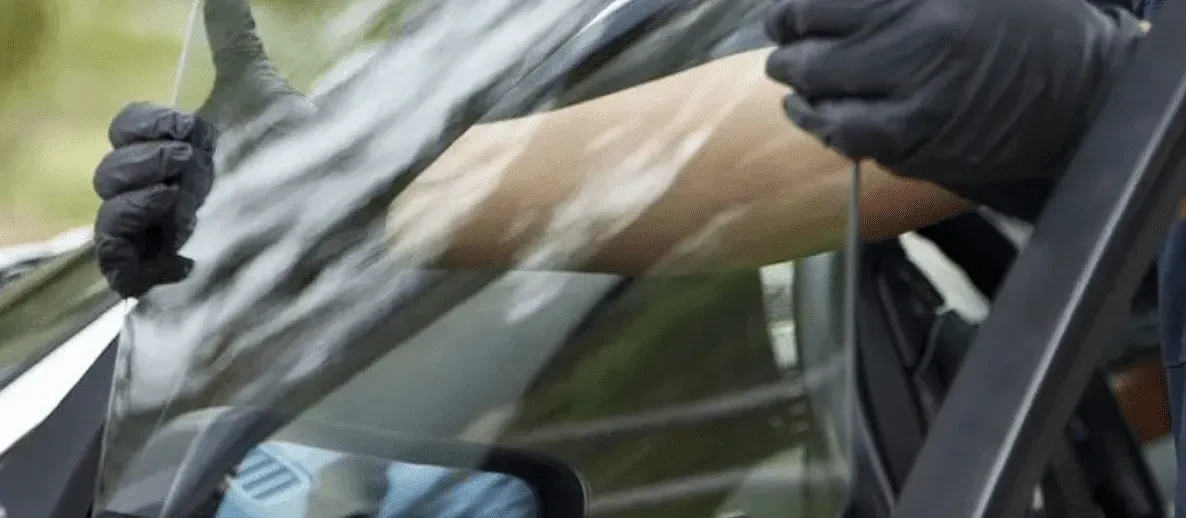
The windshield bonds to the pinch weld with cured polyurethane adhesive. Breaking that bond without damaging the pinch weld requires a cold knife, piano wire, or a power oscillating blade depending on the adhesive condition and the vehicle’s geometry.
The technician works around the full perimeter, keeping the blade angled to cut through the adhesive without gouging the metal. This takes 20 to 30 minutes for most vehicles — longer if the previous adhesive bead was applied too thickly or if the bond has been in place for many years.
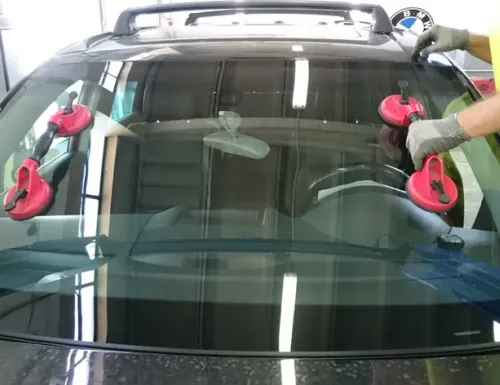
The old windshield lifts out using large suction cup handles. Glass that has shattered from impact damage requires additional cleanup of fragments from the cabin and pinch weld channel before the next step.
Step 4: Frame preparation
This step has more impact on long-term installation quality than any other. Poor frame prep is the most common cause of leaks and premature seal failure — and it is the step most often rushed in low-quality shops.
Adhesive trimming. The old urethane is trimmed to a uniform thin layer of 1 to 2 millimeters. New urethane bonds better to cured urethane than to bare primer alone, so leaving a thin retained layer (called a short bead) is deliberate technique, not laziness.
Pinch weld treatment. Any rust is removed and bare metal is treated before primer is applied. Skipping this on a vehicle with surface oxidation causes the corrosion to continue progressing under the new adhesive, eventually breaking the bond from the metal side.
Primer application. The pinch weld and the edge of the new windshield both receive a coat of urethane primer that activates bonding chemistry between the substrate and fresh adhesive. Primer has a working time window, so the technician applies it and moves directly to adhesive application without delay.
Step 5: Installing the new windshield
The technician applies a continuous bead of high-modulus polyurethane adhesive around the pinch weld perimeter. The bead must be consistent in height and width around the full circuit. Too little adhesive creates voids in the bond. Too much results in the glass sitting above the body panel surface, which affects wiper geometry, aerodynamics, and seal integrity.
The new windshield is picked up with suction cups and positioned over the opening. Alignment pins on some vehicles help seat the glass correctly. On vehicles without pins, the technician uses reference marks and visual alignment against the roofline and A-pillars.
Once seated, the glass is pressed firmly and evenly into the adhesive. This spreads the bead uniformly and ensures full contact across the entire bond surface. Reinstallation of sensors, cameras, mirror mounts, and electronics follows. Then exterior trim: wiper arms torqued to spec, cowl trim clipped back into position, moldings seated. Retention tape holds molding pieces in place during the cure period.
Step 6: ADAS calibration
Any vehicle with a forward-facing camera requires calibration after replacement. The camera’s calibration references its precise field of view through the glass. A new windshield — even one manufactured to the same specification — can change that field of view slightly due to minor surface variation between glass panels. Without recalibration, lane departure warnings, adaptive cruise control, automatic emergency braking, and pedestrian detection may not respond accurately.
Static calibration uses manufacturer-specified target boards positioned at defined distances and angles from the vehicle in our shop. Dynamic calibration requires a road drive at specific speeds so the camera self-adjusts against live lane geometry. Some vehicles need both.
Calibration typically runs during the adhesive cure window so it does not extend total elapsed time beyond what the cure requires anyway. Skipping it or using generic tools can leave safety systems inaccurate in ways that are not obvious until they fail to respond at highway speeds.
Step 7: Adhesive cure and final quality check
The adhesive needs to reach Safe Drive-Away Time (SDAT) before the vehicle can be driven. Under Atlanta summer conditions — typically 70 to 90 degrees with moderate to high humidity — most urethane formulations reach SDAT in 40 to 60 minutes. Cooler or drier days extend that window. Midtown Glass Atlanta uses infrared curing lamps on same-day appointments where timing is a factor, which can reduce SDAT by 15 to 30 minutes without compromising bond quality.
During the cure period, the technician:
- Runs a water test, applying low-pressure water around the windshield perimeter and checking the interior for any seepage
- Tests all electronics: wipers, rain sensor response, camera function
- Verifies all trim pieces are seated correctly and retention tape is secure
- Cleans interior and exterior glass
Total timeline
| Service component | Time required |
|---|---|
| Assessment and glass selection | 10 to 15 minutes |
| Vehicle preparation | 10 to 15 minutes |
| Old glass removal | 20 to 30 minutes |
| Frame prep and priming | 10 to 15 minutes |
| New glass installation | 15 to 20 minutes |
| Trim and component reinstallation | 10 to 15 minutes |
| ADAS calibration (if needed) | 20 to 60 minutes |
| Adhesive cure | 40 minutes minimum |
| Total | 2 to 3.5 hours |
Aftercare: the first 24 hours
Before you leave, we walk through what to do and avoid:
Leave a window cracked a few inches for 24 hours to prevent cabin pressure from loading the fresh seal when you close the door. Drive gently and avoid potholes the first day. Leave the retention tape on the molding until full cure (24 to 48 hours). No car washes or high-pressure hoses during that window.
After 24 hours, normal driving and washing routines are fine.
FAQs
Can I drive immediately after a windshield replacement? No. Wait for SDAT — typically 40 to 90 minutes after installation depending on temperature, humidity, and the adhesive used. Your technician provides the specific number for your installation.
How long will the new windshield last? With proper installation and no physical impact damage, a windshield should last the life of the vehicle. Premature failure almost always traces back to skipped primer, unaddressed pinch weld corrosion, or driving before SDAT.
Does mobile replacement use the same materials as in-shop? Yes. Our mobile units carry the same glass, primer, adhesive, and IR curing equipment as the shop. The process is identical.
What if the pinch weld has corrosion? We treat it and document it before proceeding. We do not install glass over untreated corrosion.
Midtown Glass Atlanta has been replacing windshields for Atlanta drivers since 1956. Call (404) 873-6991 or schedule online for a free quote. Same-day service available at 510 Glen Iris Dr NE or through mobile service anywhere in Metro Atlanta.
Learn more about auto glass services or read our guide to same-day windshield repair if your damage may qualify for a faster fix.